
To make space for the touchscreen monitor, I removed the black
storage tray and drilled-out the 4 pegs as explained by Cheap! at
My official Prius Plus mods thread.
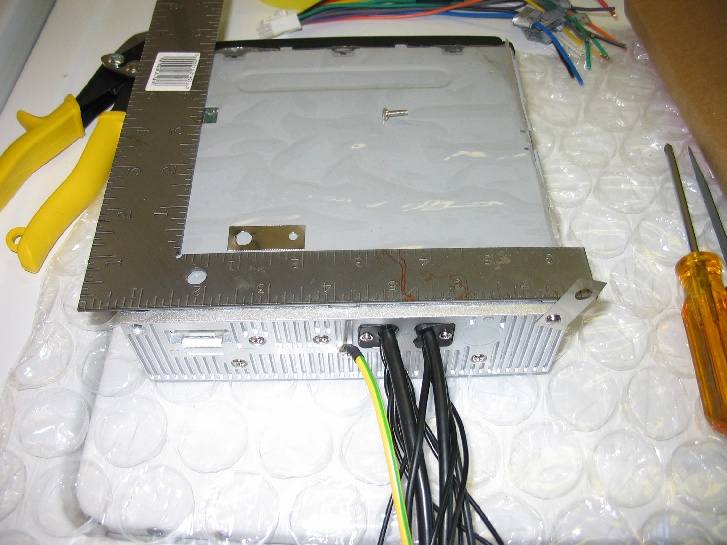
To mount the monitor, I cut and drilled 2 short strips of
0.010" stainless. I attached the strips to the back of the monitor
with 3/8"-long 4-40 screws to replace the 2 existing screws. This
method is similar to how TheForce explained at
My In-Dash Car PC project.
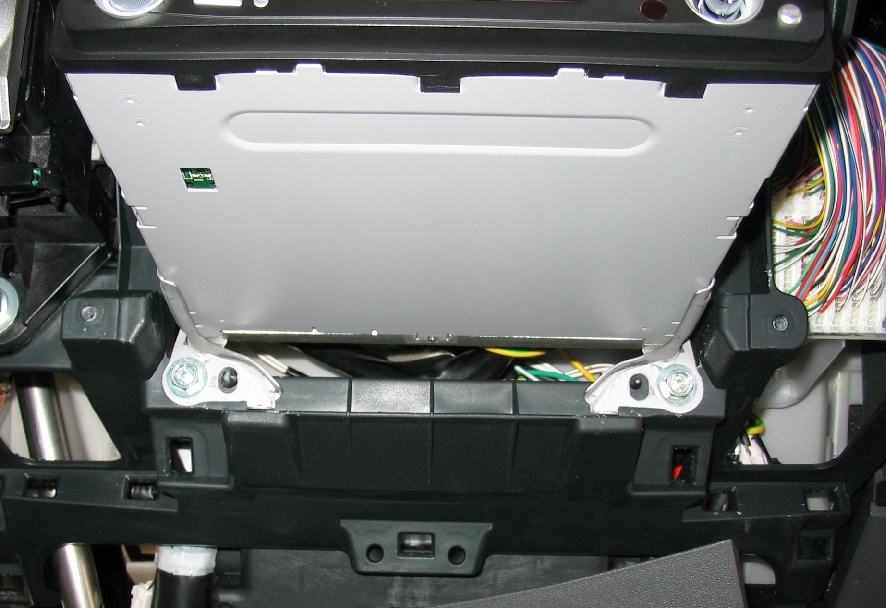
When put in place, the strips were sandwiched between the stereo bracket
and the black plastic. The existing screws fit through the
large holes in the strips. Each strip is briefly visible in these
pictures in the small gap between the back corner of the monitor
and the stereo bracket.
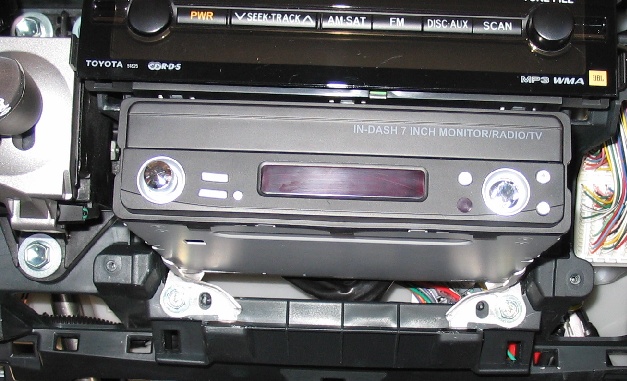
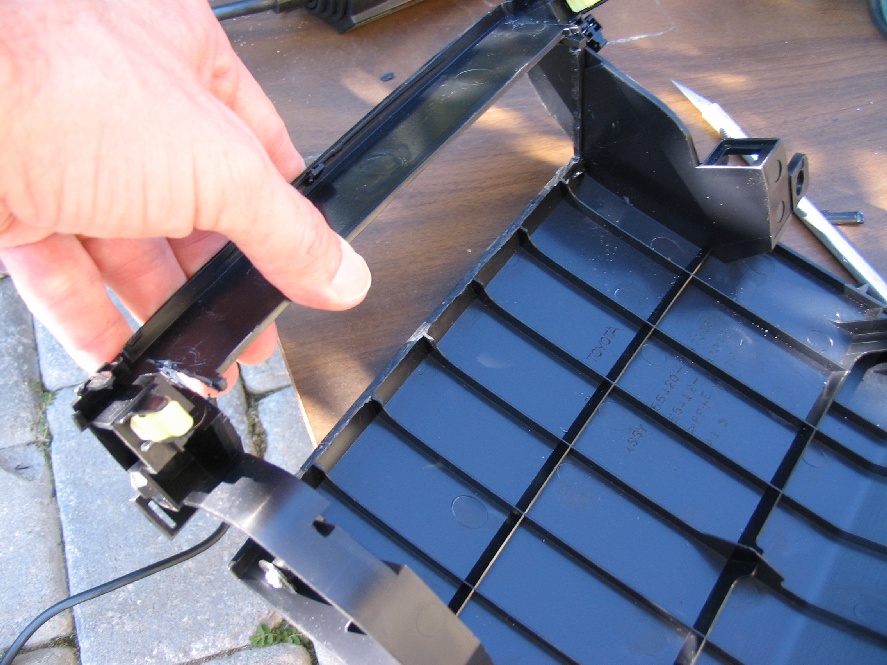
The panel that covers the area around and under the monitor needed
modifications. First of all, the translucent door had to be removed
by removing some screws and a spring. I then trimmed (using a Dremel
and a knife) the bottom and sides of the rectangular opening to
accomodate the height and width
of the monitor. I also cut 2 slots in the top so that the top
could flex while putting the panel into position.
The wiring for the monitor involved getting ground and switched power
by tapping onto the
nearby 12V socket. For unswitched power, I intended to tap onto
a wire at the back of the stereo but, without completely thinking,
I tapped the yellow wire at the back of the MFD.
FlowerDog Home
Questions and comments may be sent to:
